RealityServer 5.1 introduced a new way to generate images of configurations of your scenes without the need to re-render them from scratch. We call this Compositing even though it’s actually very different to traditional compositing techniques. In this article we will dive into the detail of how to use the new system to render without rendering and speed up your configurator.
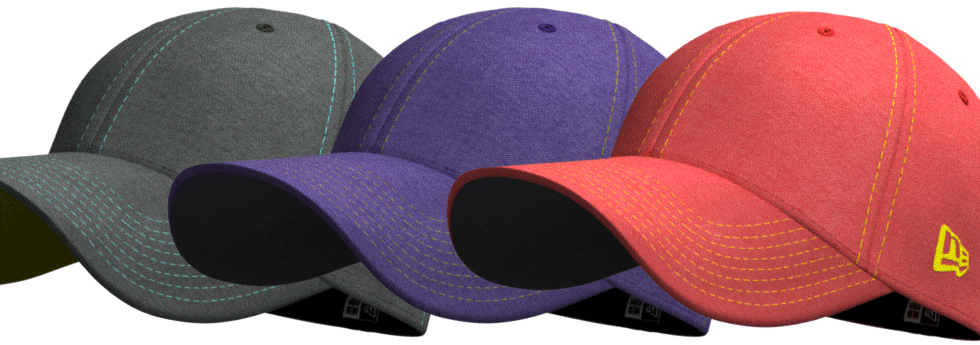
RealityServer is a rendering web service right? So why do we want to avoid rendering? In short, scalability. For example when you are building a sizeable configurator application and expect a large number of users, using server-side rendering basically means your are buying GPU hardware for all of the visitors. This might work well in some use cases (for example B2B), however for large scale consumer configurators devoting the full resources of a GPU server to a single user is often not practical.
Using compositing we can render once, store a lot of extra data, then use that data to reconstruct new images that would normally require re-rendering. For example changing the colour of objects in the scene. This can be done much faster than rendering a high quality image and with fewer resources. It can even be run on CPU based resources if needed (although it will get accelerated by GPU hardware if used).
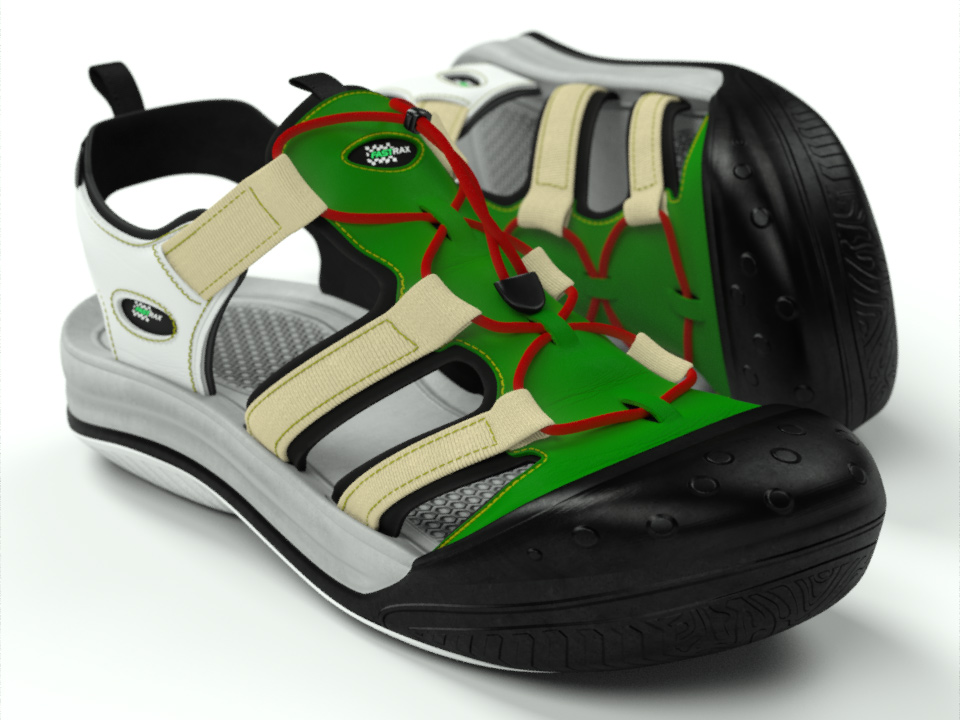
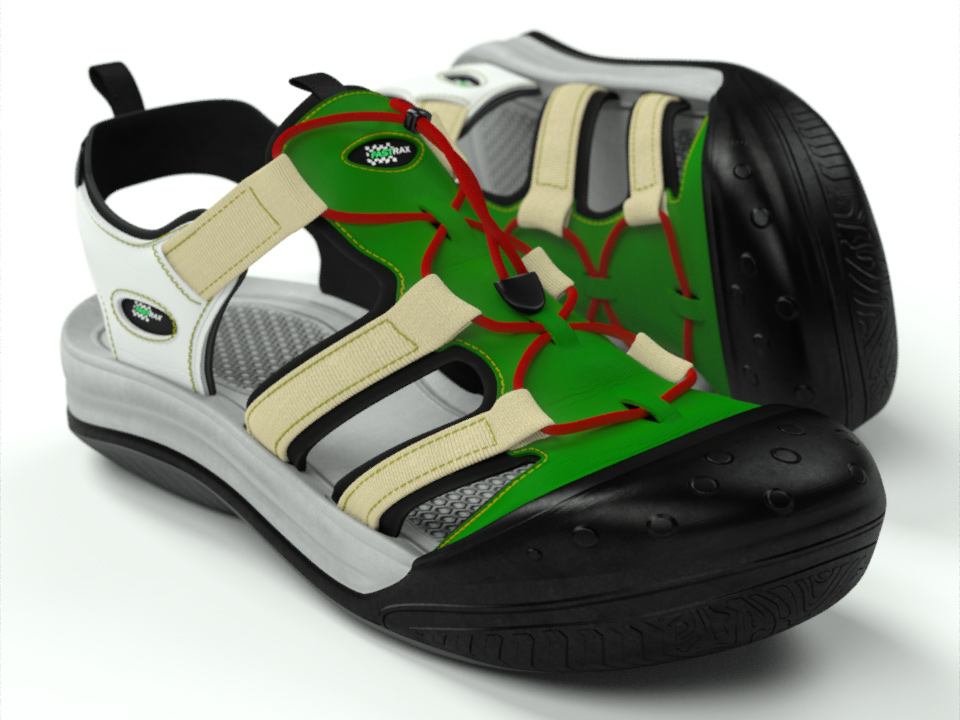
How does this actually help us? Here is a small demonstration of what can be done with the compositing system. Basically we have a piece of footwear in which we have split out many of the components and are applying a random set of colours to each part as well as random textures every time we hit the shuffle button. All of the images being output are using the compositing system and a single pre-rendered piece of content.
A few things to get your head around in this little demo. Firstly, there are no masks or alpha channels. All of the compositing is purely additive. This means no edge artifacts. Look closely at the small details like the stitches, where there is barely a pixel involved. This poses a significant issue for traditional compositors where you typically need to composite at a higher resolution and downsample to mitigate this (even then it doesn’t fully fix the issue).
Also notice that even in the out of focus region (caused by the depth of field we have enabled) at the rear of the second shoe, all of the compositing is still working perfectly. This would be impossible to achieve with a mask or alpha based approach.
There are also more subtle effects caused by the indirect light also being tinted by our chosen colours, also impossible with traditional compositing. Finally we are taking advantage of the ability to output UV information to remap our tint with a texture that correctly conforms to the shape of the object.
Now that you’ve seen an example of what if can do, let’s get into the detail of how it works, first with a little background and then by describing how to actually use the compositing system.
Before looking at how it’s used it is worthwhile to cover a little background on the technology behind the compositing system. You can skip this section if you’re eager to get started with using the system, however even though the system hides the complexity it’s good to know it’s there if you need to access it.
The compositing feature leverages functionality that has existed in RealityServer for some time, namely Light Path Expressions or LPEs for short. An LPE allows the rendering engine to separate the individual contributions of specific objects and light transport interactions into their own images. To use them you specify expressions like this.
L.*<RD'threads'>.*E&^(L.*<RD'threads'>E)
What does this give you? It tells the renderer to give us all of the indirect lighting contributed by objects in the scene with the handle String attribute set to ‘threads’. You can learn more about the LPE syntax here, however the goal of the compositing system is that you don’t have to understand this in order to use it. Imagine having to construct this LPE by hand.
^(L.*<RD'laces'>E|L.*<RD'laces'>.*E&^(L.*<RD'laces'>E)|L.*<RD'middle'>E|L.*<RD'middle'>.*E&^(L.*<RD'middle'>E)|L.*<RD'sides'>E|L.*<RD'sides'>.*E&^(L.*<RD'sides'>E)|L.*<RD'sole'>E|L.*<RD'sole'>.*E&^(L.*<RD'sole'>E)|L.*<RD'stripes'>E|L.*<RD'stripes'>.*E&^(L.*<RD'stripes'>E)|L.*<RD'threads'>E|L.*<RD'threads'>.*E&^(L.*<RD'threads'>E))
This is a real LPE from a footwear configurator and represents what we call the residual, all of the static parts that don’t need changing. Actually, the compositor could have been created by our users at any time in the last few years since LPEs have been available but the complexity of expressions like this has held them back. The new compositing system manages all of this for you.
Up to 20 LPEs can be rendered in a single pass. Once they are rendered you can then recombine them by adding them together and you can change the colours of each component while you do so to reconfigure the resulting image. One really cool advantage of this over other compositing systems is that the indirect component also gets tinted and there are no masks or alpha channels to cause edge artifacts.
Below are the components rendered using LPEs from a real-world example separated out so you can see them. The (D) in the tab denotes the direct illumination for a particular component and the (I) denotes the indirect illumination. It’s easy to discount the indirect illumination as unimportant in an object like this one (as opposed to an architectural interior for example), however in these components you can see that even in this case, indirect lighting is still quite important. Not every component is shown here as there are 13 in total for this scene but you get a feel for what they look like from this.
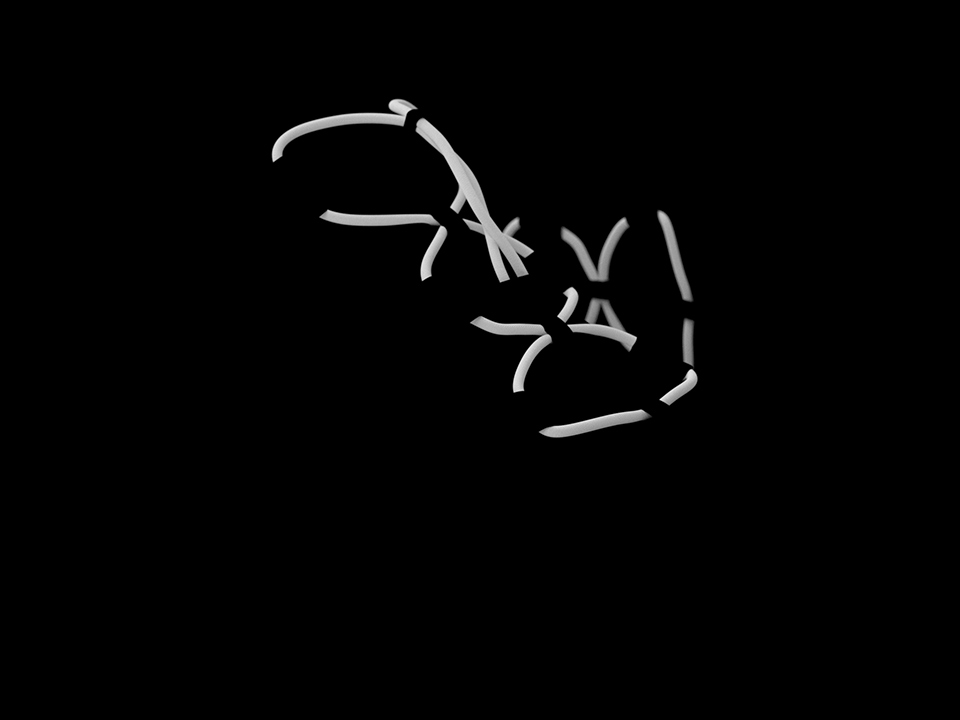
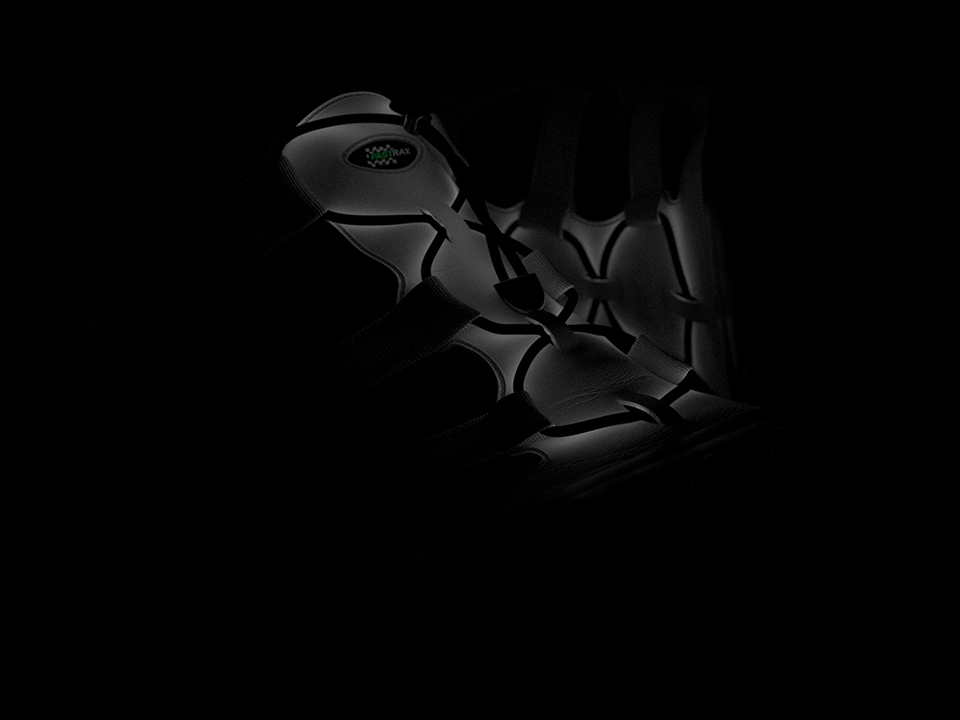

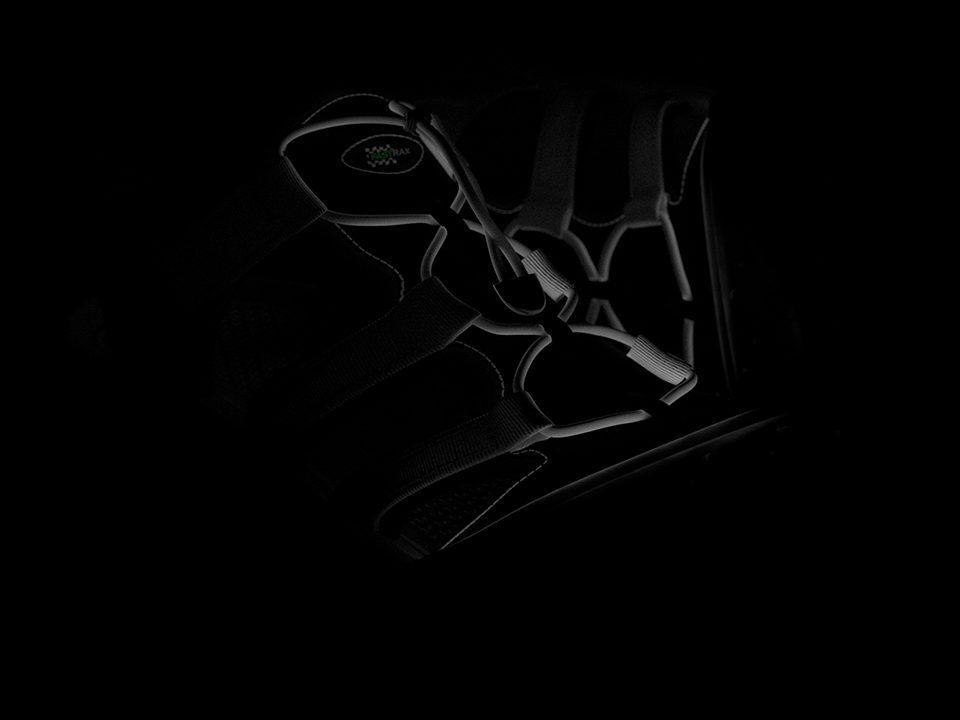
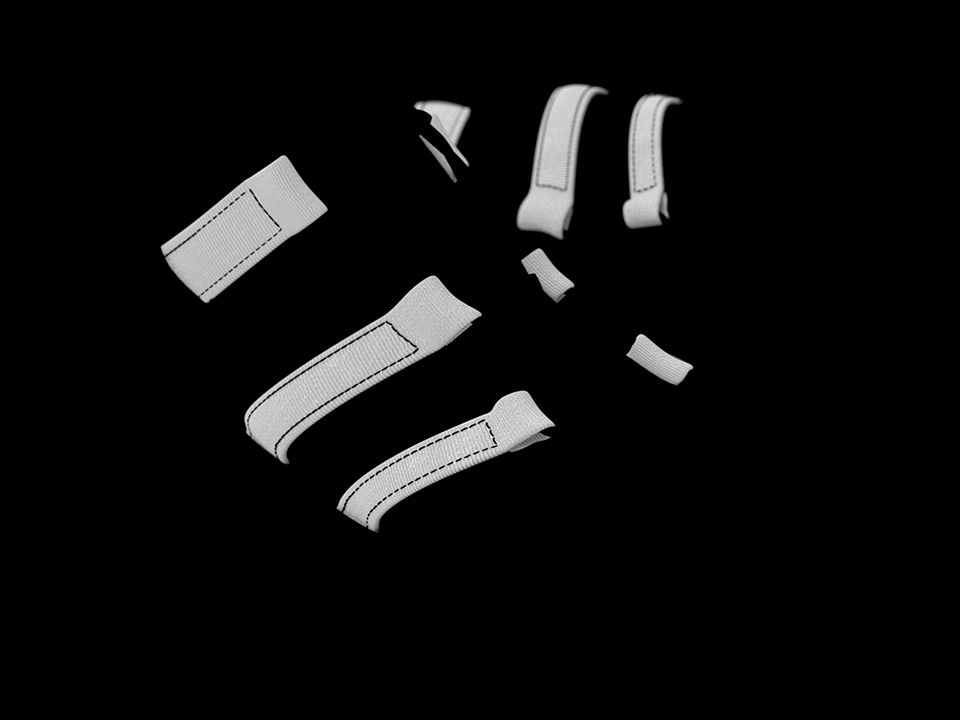
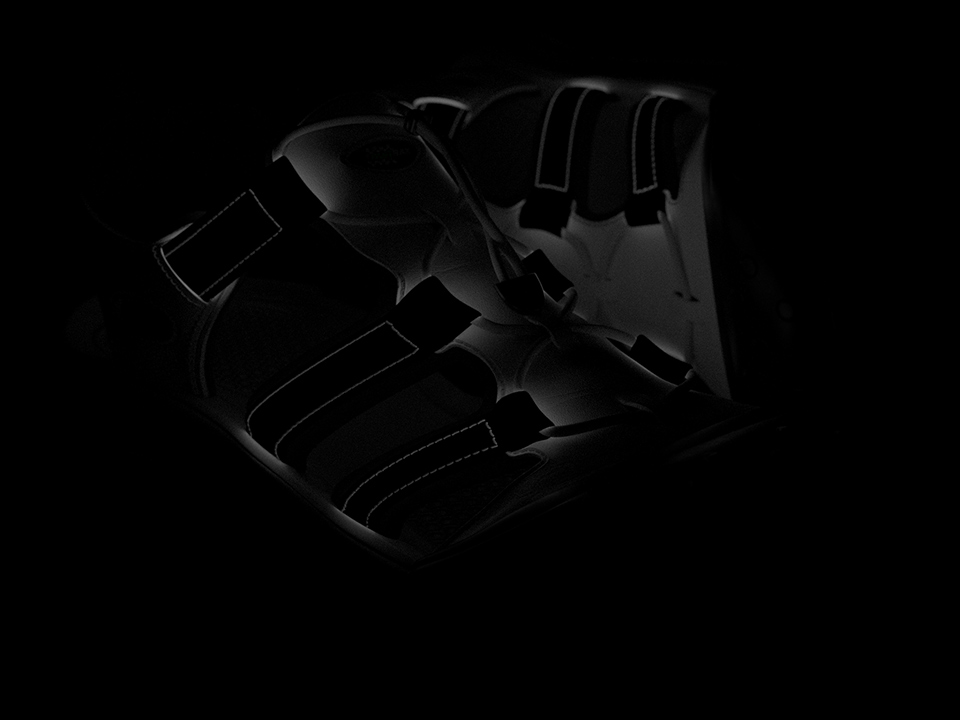
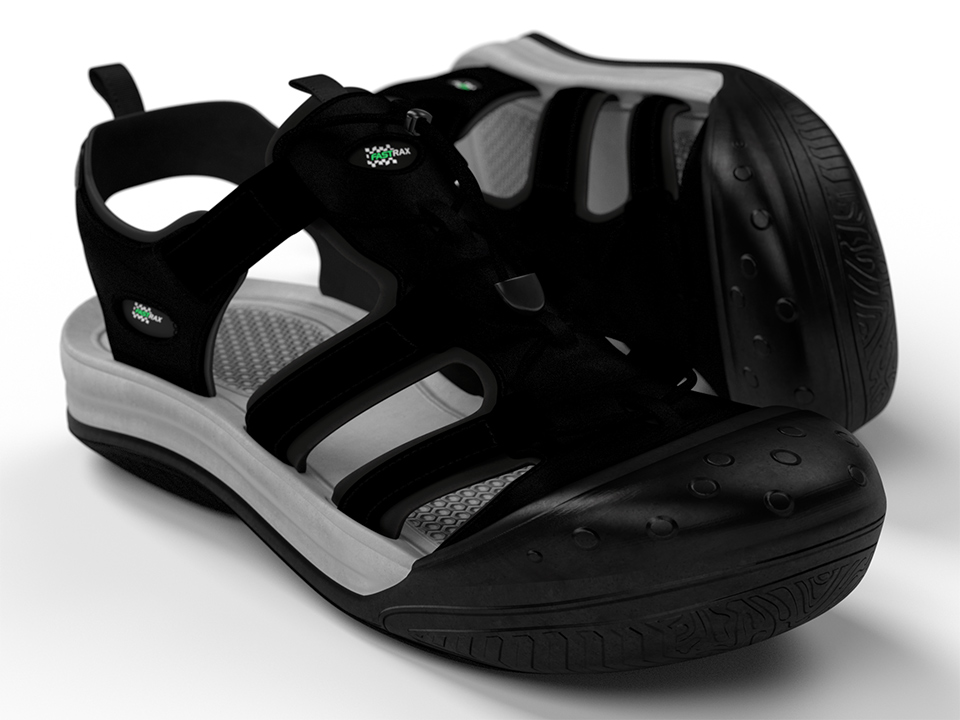
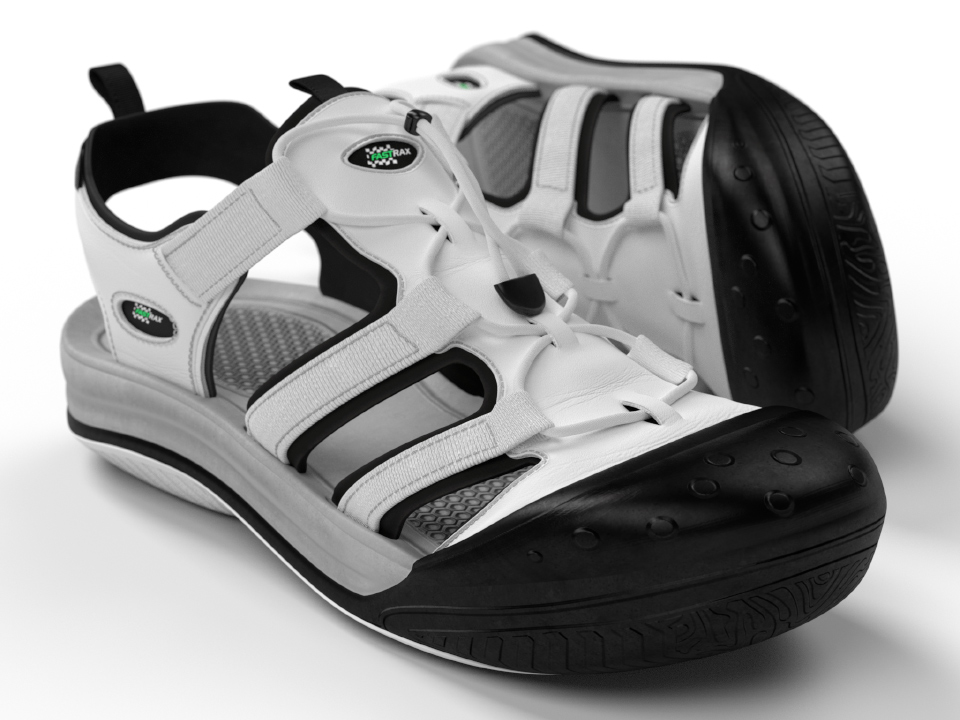
The compositing system allows you to tint, with a colour or texture, the diffuse, glossy or specular components of the reflection, transmission or volume scattering of any specific object or objects in the scene. It also allows you to separate the direct and indirect components of each of these.
In addition to these material related elements you can also separate the contributions of various light sources. This is great for building tools which let you turn lights on and off or dim them. You can also combine lights and materials but note that this will significantly increase the number of passes that need to be rendered and stored.
Separating the direct and indirect is useful when it comes to using textures for tints. This is because it is not really useful to apply textured tints to indirect contributions since the UV coordinates for those is not available. It is usually best to simply tint the indirect with an average of the texture colour to get an approximate result.
The vast majority of the time users end up just separating the direct and indirect and selecting the diffuse reflection component from a few objects to be configured. This is what most configurators end up being. The ability to texture the tint however opens up the door to a lot of potential, including user generated content where the customer can upload their own patterns and images.
On the tabs below going from left to right you can see the initial uncoloured composite of all of the components with each tab recolouring a different component as you move to the right. Of course, we’d never recommend these actual colours for a product, unless maybe you are going for a Christmas theme.
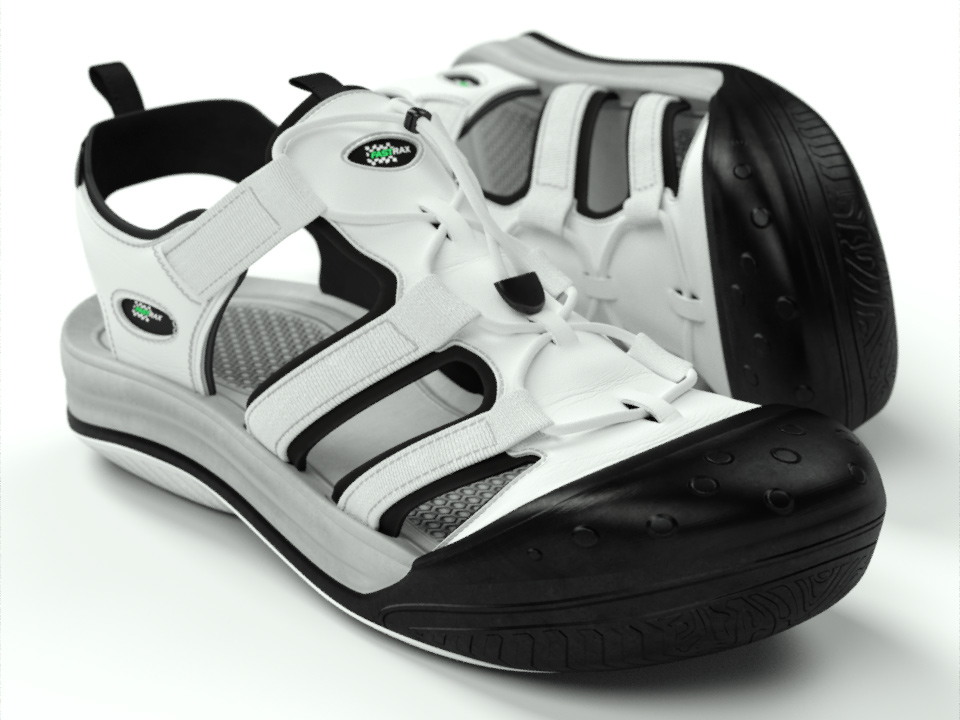
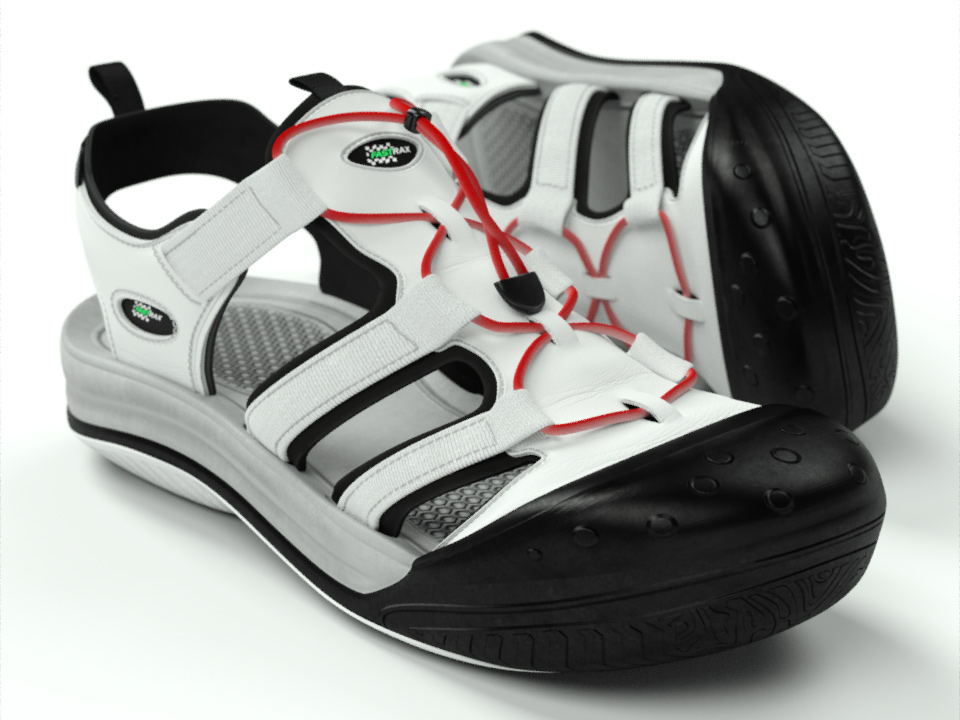
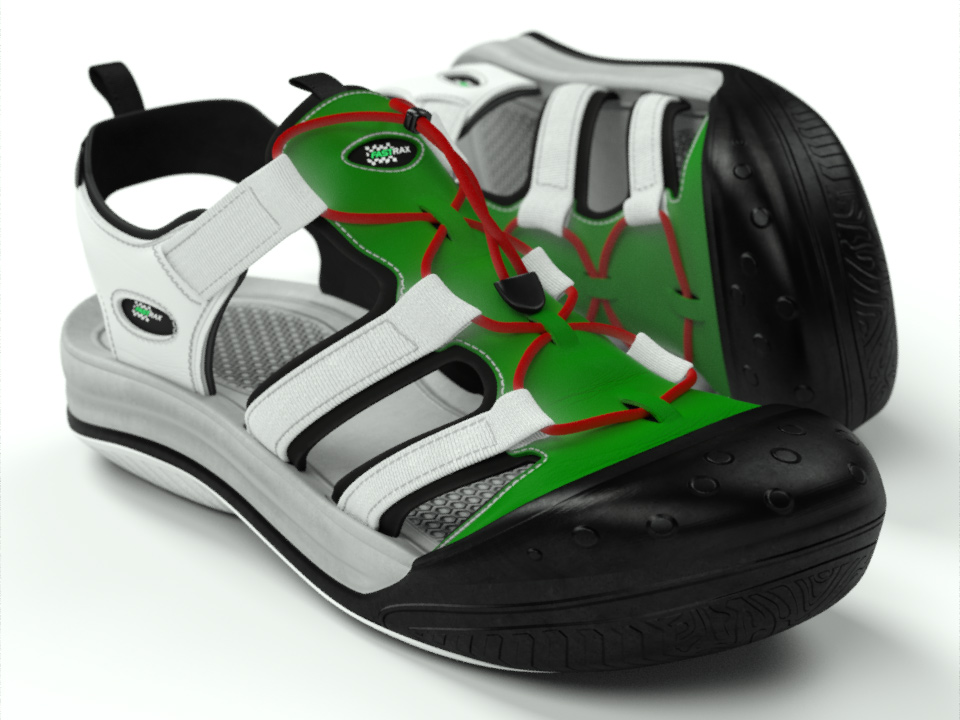
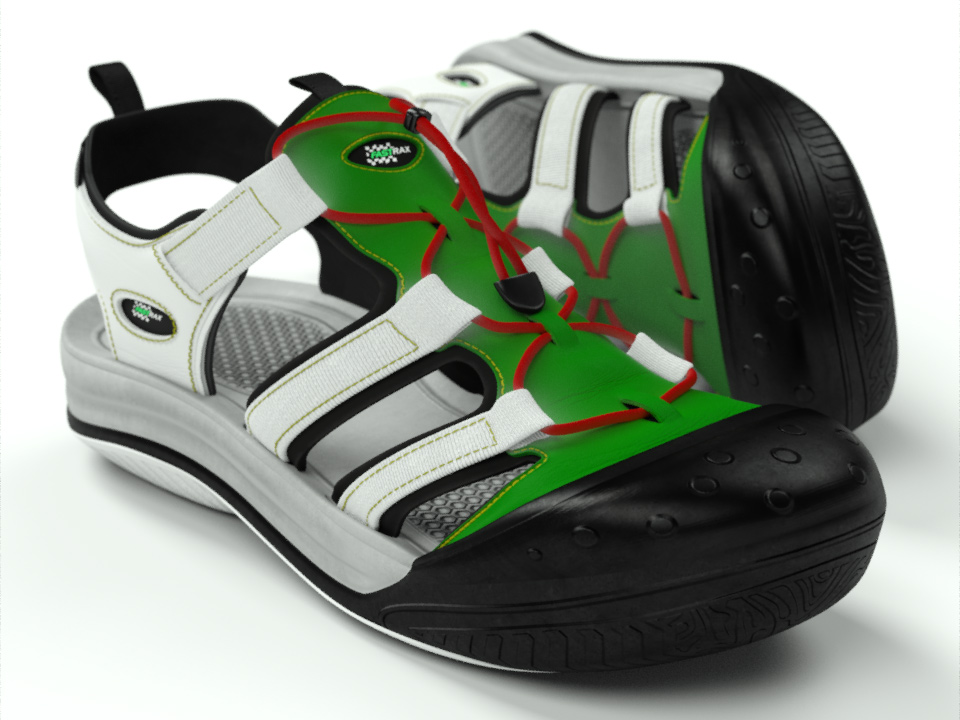
Not every use case is going to work well with the compositing approach. For example, anything that needs to modify the direction of the rays being cast (e.g., changing the glossiness of a material) or things that have a lot of different geometry options are going to be less well suited to compositing.
You can still use compositing in these cases by generating multiple composites and switching between them or by using our compositing commands as a basis and extending them to allow multiple layers for the same contribution in the composite. This is of course a much more complex use case but it is possible.
When using compositing you are also restricted to fixed view points since it relies on pre-computing the compositing data in advance from a single view. You can use a series of views which can be swithed between (for example to give a turn-table style view), however arbitary or free navigation is not feasible.
The RealityServer compositing system consists of three simple commands and some shared data structures for describing what the system should actually do. This hides all of the complexity of LPEs from you. In fact you don’t even need to know what they are. Here’s the three commands and how they work listed in the order you would usually call them.
This is the command used to pre-generate all of the compositing data needed at runtime and to specify what things you actually want to change. Basically this is where you need to make the upfront decisions on what you will want to be able to change when doing the compositing. It will then render enough information to achieve what you need. Here is a simple example.
{"jsonrpc": "2.0", "method": "compositor_render_components", "params": {
    "allow_texturing" : true,
    "elements" : [
        {
            "item" : "ball_test_outside_inst",
            "item_is_handle" : false,
            "separate_direct_and_indirect" : true,
            "scattering_events" : [
                {
                    "type" : "reflection",
                    "mode" : "specular"
                }
            ]
        }
    ],
    "composite_name" : "fancy_composite",
    "render_context_timeout" : 20,
    "save_to_disk" : true,
    "scene_name" : "ex_scene",
    "texture_space" : 0
}, "id": 1}
Check out the command documentation for full details, however the main part you are interested in here is the elements parameter which is an array of all of the things you want to be able to change. Each element is of the special user type Compositor_element and is structured like this.
{
    "item": String,
    "item_is_handle": Boolean
    "separate_direct_and_indirect": Boolean
    "scattering_events": Scattering_event[]
}
So you need one of these for each item you want to separate out to be able to change later. The item property is the name of the item to separate. How it is interpreted depends on the value of item_is_handle. If true then item is assumed to be the value of the handle String attribute on objects you want to separate. This is great when you want to take multiple objects with the same handle to put them together in one component. If false then the item is assumed to be the name of an instance you want to separate, this is useful when everything you need is already under a single object.
The separate_direct_and_indirect property tells the system whether to output the direct and indirect as separate components or keep them together. If not doing texturing then you can choose not to separate them to save on storage and make it easier to specify changes. If you are going to texture the tints in the composites you will want to separate the direct and indirect so you can avoid trying to texture the indirect illumination which won’t work correctly. You may also want to separate them just to get more visual control over the indirect illumination.
scattering_events is the most complex property and it is an array of one or more objects of the special user type Scattering_event. This type is defined like this:
{
    "mode": "diffuse" | "glossy" | "specular"
    "type": "reflection" | "transmission" | "volume",
}
So each scattering event has a mode which specifies whether the interaction is diffuse, glossy or specular in nature and a type which determines whether you want the reflection, transmission or volume scattering interaction. This gives you a total of 9 possible scattering event types to use, although most users only ever need one or two of these. Since it is specified as an array you can have multiple scattering events per object you want to separate.
If you are interested in more detail on the types of interactions and what they mean we highly recommend checking out the NVIDIA MDL Handbook which contains a great introduction to light and material interactions and what they all mean. A full description is beyond the scope of this article.
There are a lot more options so definitely refer to the command documentation for full details and also the RealityServer Features documentation on Compositing. Running this command will cause your scene to be rendered, this uses all of the current options and settings you have setup at the time, so in that respect it’s just like calling the normal render command. So setup any options you want to use (e.g., termination conditions, AI denoiser etc) before calling.
The command will return a large data structure with a lot of useful information, including what is called the operation_template which you can use to work out how to send your parameter changes later (see the next sections). Often you’ll only call this command once and then keep the resulting composite data, just calling the compositor_prepare_composite and compositor_composite_components commands during your sessions.
When we perform the compositing we create a very simple scene with a single polygon in which the textures representing the composite are mapped. While this happens very quickly it does not make sense to do it each time you change a parameter and reproduce a composited image. To that end we have the compositor_prepare_composite command which does everything needed to get the composite ready to produce images. It is very simple and looks like this.
{"jsonrpc": "2.0", "method": "compositor_prepare_composite", "params": {
    "composite_name" : "fancy_composite"
}, "id": 1}
Where fancy_composite is of course the name of the composite you created earlier with compositor_render_components. If the composite is already prepared then the command will do almost nothing and return, so there is no harm in just calling it more often than you need. Once called you can make subsequent calls to the compositor_composite_components command as many times as you wish. If you try to do that before preparing you will get an error.
The command also returns useful information, including the operation_template which specifies what things are available to be tinted within the composite. For example:
{
    "data": {
        ...
        "operation_template": {
            "camera_attributes": {},
            "lights": {},
            "objects": {
                "ball_test_outside_inst": {
                    "specular_reflection": {
                        "direct": {},
                        "indirect": {}
                    }
                }
            }
        },
        ...
    }
}
There is a lot of other data returned but the operation_template is the most useful. In this case it shows us that there is an object called (or multiple objects with the handle) ball_test_outside_inst and that it has its specular reflection component separated with the direct and indirect components separated and available for modification. Next we’ll see how those actual changes are made.
Here is where we finally make actual images. If you run this command without first calling compositor_prepare_composite then you’ll get back an error. Assuming the composite is prepared you need to tell the system what you want to change in the image, here is an example of calling this command.
{"jsonrpc": "2.0", "method": "compositor_composite_components", "params": {
    "composite_name" : "fancy_composite",
    "operation": {
        "objects": {
            "ball_test_outside_inst": {
                "specular_reflection": {
                    "direct": {
                        "texture" : {
                            "name": "ex_tex_3",
                            "scaling": { "x": 0.5, "y": 0.5, "z": 1.0 },
                            "translation": { "x": 0.25, "y": 0.35, "z": 0.0 }
                        },
                        "tint" : { "r": 1.0, "g": 1.0, "b": 1.0 }
                    },
                    "indirect": {
                        "tint" : { "r": 0.66, "g": 0.9, "b": 0.78 }
                    }
                }
            }
        }
    }
}, "id": 1}
So basically you give it a composite_name and an operation. The operation is what actually does the work, the structure is based on the operation_template discussed earlier. There are also many other options for setting resolution, controlling lights, tone-mapping and the image format returned. Refer to the command documentation for full details.
You can see here in this example we are tinting the direct component of the specular reflection of the ball_test_outside_inst object with a texture (you need to use the standard RealityServer processes to have created that texture element first) called ex_tex_3. We are also applying a scaling and translation to that texture to modify its size and position. The direct component also specifies a tint which is multiplied with the texture colour (in this case it’s white so won’t do anything). The indirect component is just using a colour tint with no texture.
There’s only one object in this example but a typical configurator will usually have somewhere between 2 and 20 elements being separated for configuration (much more is typically too complex for the user in a consumer application). You can see from this that to start doing configuration you just need to keep track of the tints and re-send the command with different values. You’ll get back and image as though you rendered it only much quicker!
The command itself returns a image binary, just like the regular render command does.
Composites are persisted to disk, by default in your content_root/composites folder. After you have made some composites you will see .mig and .json files start to appear in this location. There will be two .mig files per composite, one for the colour data and another for the UV data for re-texturing. The JSON file contains everything needed for the system to re-load the composite data.
The system takes advantage of the recent addition of the .mig format which allows for the storage of multiple image layers in a single file as well as all of the pixel formats supported by RealityServer. Compositing data is stored in full floating point colour (linear, un-tonemapped) while the UV data is stored in Rgb_16 to provide the needed precision. These files can get quite large since they are all uncompressed.
If you want to move composites from one installation to another you just need to copy the files out of this directory. If you don’t want to use RealityServer for the compositing part of the process the stored data could even be used by your own external program. You can find details of the .mig image format in the RealityServer Document Center under More Resources → MIG Image File Format.
The way Iray Light Path Expressions work you need to specify which objects you want to separate rather than materials. Because of this you’ll need to setup your scene with a single material on the object of the material you want to change. So objects with multiple materials are not really suitable for modification.
You can either use the names of the object instances directly which is fine if they are just a single object of the same material or alternatively you can set the handle String attribute on one or more instances and have this be used to identify what you want to be able to change. Same goes for lights.
RealityServer ships with a small example application in content_root/applications/compositor_demo which shows how you can implement a general application with the compositing system. The example also lets you see the JSON data it generates so you can explore how to make different compositing configurations easily. Its original source code can be found in the src/compositor_demo directory in your installation.
Documentation for the compositing system can be found in your RealityServer Document Center under the Getting Started → RealityServer Features → Compositor section. Here you will find more detailed information on each command and the system in general.
This article only really scratches the surface of what is possible. We haven’t covered compositing lights here and we will do a separate article on that since you can do some really cool things for interior lighting configurators using this. It’s also worth mentioning that because the compositing system is implemented using our V8 server-side scripting, you have all of the source code and can modify it to suit your needs. We’re excited to hear what you do with these new tools so please get in touch and share your stories.
Paul Arden has worked in the Computer Graphics industry for over 20 years, co-founding the architectural visualisation practice Luminova out of university before moving to mental images and NVIDIA to manage the Cloud-based rendering solution, RealityServer, now managed by migenius where Paul serves as CEO.